
Custom Wood Blinds for Bay Windows in Simi Valley California
November 21, 2025
Wood Blinds Cleaning Tips for Simi Valley California Homes
November 21, 2025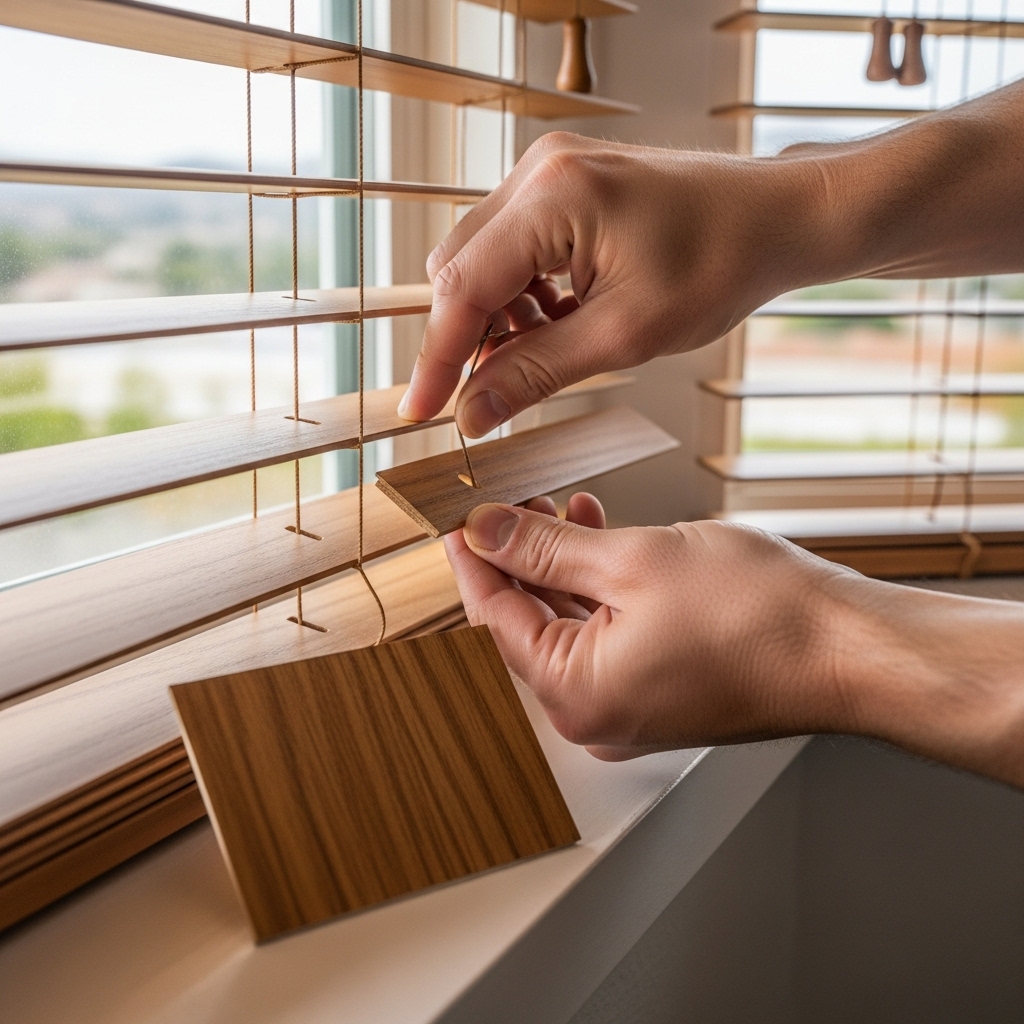
Life happens to even the best-dressed windows. A bouncing dog nicked a slat with an excited tail, an overwatered plant left a faint watermark on the sill side, or a bright Simi Valley afternoon slowly faded the one slat that always sits in the sun’s crosshairs. The good news is that many of these little imperfections can be fixed without replacing the entire blind. Replacement slats for wood blinds give you a way to restore a clean, uniform look with minimal disruption. As someone who spends a lot of time measuring and tuning blinds across neighborhoods from Wood Ranch to Santa Susana, I can tell you that thoughtful replacement is a practical, satisfying refresh—especially when done with a careful eye for color, size, and finish.
The first step is understanding what you have. Slat width, thickness, routing style, and finish all influence the match. Most wood blinds in our area feature 2-inch or 2.5-inch slats, but there are exceptions. Some are routed traditionally with center holes for ladders; others use no-route or hidden-route designs that hide holes for better privacy. Painted finishes can be matched closely to trim, while stained slats reveal grain and tone that should be echoed in any replacement. The trick is to approach the project like a small restoration. We are not just filling a gap; we are returning the blind to a state where it disappears into the room again, doing its daily work quietly and beautifully.
When Replacement Makes Sense
Replacing individual slats is ideal when damage is isolated: a single warp from accidental moisture, a chip from moving furniture too close, or a sun-faded strip in the middle of a bay’s center panel. It also makes sense when you want to upgrade routing for privacy or convert a high-touch area to a more durable finish while keeping the overall blind intact. In Simi Valley, west-facing windows are the most common candidates because the afternoon sun can be intense. Kitchens and breakfast nooks are next on the list, where occasional splashes or steam can mark a small section over time.
Measuring Accurately
Accurate measurement is the heart of a successful replacement. Start by noting the slat width—measured from top to bottom of the slat face—typically 2 inches or 2.5 inches. Then check the length of the slat from ladder hole to ladder hole, as well as the overall headrail width so you can understand how much material tucks into the side ladders. If your blinds are no-route, measure precisely from edge to edge; these slats rely on tight tolerances to stay put. Depth matters too: slat thickness can vary slightly between manufacturers, and getting it right ensures the stack looks even when the blind is raised. Take measurements at room temperature and in the position the blind lives most of the time; extremes can mislead.
Matching Color and Finish
Color is where expertise pays off. White is not just white; there are warm whites that lean creamy, cool whites with a gray whisper, and true neutrals that shift under different light. In our valley, the same sample can look different in the soft morning light of a north-facing room and the sharp afternoon rays of a west-facing bay. When replacing slats in a stained blind, look beyond the surface tone to the undertone—honey, nut, ash, or espresso—and the grain pattern. Basswood, a common choice, has a fine, even grain that takes stain uniformly. Alder may carry a bit more character. Matching is about getting the family of color right and then dialing in shade. It is normal to compare two or three close options in the actual window before committing.
Routing: Traditional vs No-Route
Traditional routing places holes through the center of each slat for the lift cords, then the ladder tapes cradle the slats on the sides. No-route or hidden-route systems move the lift to the edges or into an internal channel, eliminating pinholes of light at night and improving privacy. If your blind is traditional and you want to keep it that way, replacements are straightforward: match hole spacing and diameter. If you are converting to no-route, it is often best to replace a section as a set or consult to ensure compatibility with the existing headrail and ladders. The result—especially in street-facing bedrooms—can be a noticeable upgrade in light control.
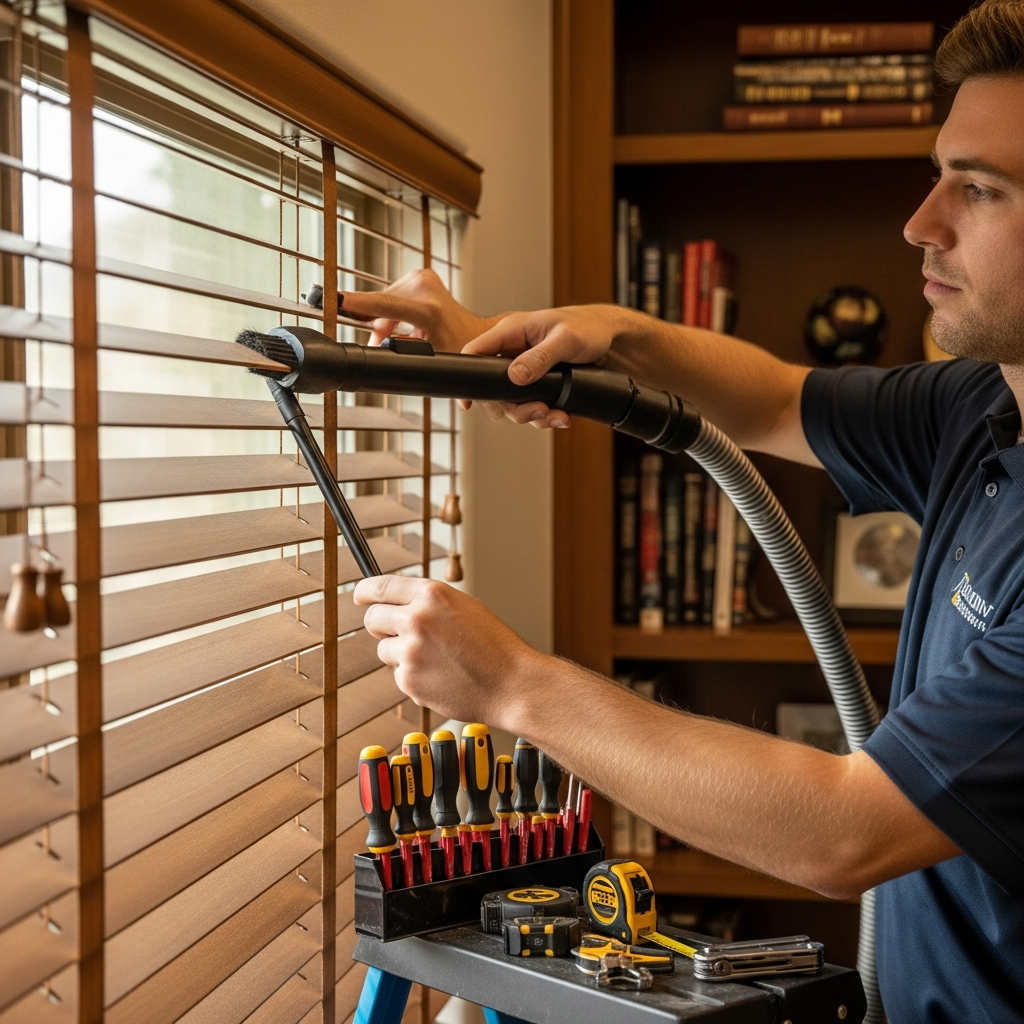
Tools and Gentle Handling
Changing slats is not complicated, but care is key. Lay a soft cloth on the sill to protect both the blind and the window trim. Tilt slats open, lift the bottom rail gently, and locate the end caps. Removing the bottom rail plugs exposes the ladder cords and lift cords. From there, you can free the damaged slat by working it out of the ladders and sliding in the new one. Re-thread carefully, keep cord tension consistent, and double-check level before replacing the rail plugs. In Simi Valley’s dry air, static can attract dust as you work; a quick pass with a microfiber cloth as you finish keeps everything tidy.
When to Replace More Than One Slat
Sometimes a single new slat will look a bit fresher than its neighbors, even with perfect color matching. If the blind has seen years of sun, a small set of replacements in the immediate area can blend better. We often replace two to five slats around the damaged spot, staggering their positions to create a seamless look. In bays, matching across panels can be important because the eye reads the three faces as one composition; a coordinated approach ensures the whole bay reads cleanly.
Considering Upgrades During Replacement
Replacement is an excellent moment to fine-tune the blind. Ladder tapes, for instance, can be swapped to a coordinating color for a tailored appearance, or changed to match a newly painted trim. If lift feels heavy, switching to a cordless system or refreshing internal components can make daily use more pleasant. For windows that were always a bit too bright, moving to a no-route slat during replacement reduces pinholes at night and improves nap-time darkness in nurseries or media rooms.
Local Light Patterns and Placement
Simi Valley’s light is a character in its own right. East-facing windows glow early; west-facing ones blaze after lunch. When replacing slats, place your best color matches in the zones that catch the most eye. The slats at standing eye level in living rooms or sitting eye level in reading nooks are worth the extra attention. In kitchens, consider a slightly more forgiving finish near sinks. Small, thoughtful choices like these are why a replacement can feel like a refresh rather than a patch.
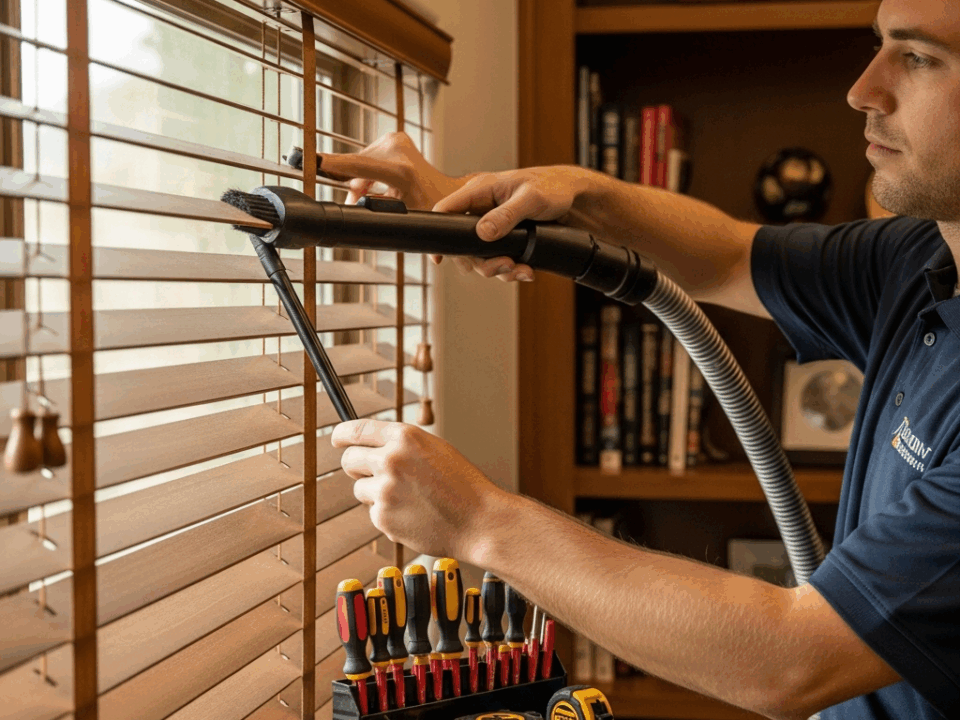
Care After Replacement
Once everything is back in place, adopt a gentle routine to keep the look consistent. Dusting every week or two prevents micro-scratches from grit. If a spot does appear, a barely damp cloth followed by a dry pass protects the finish. Avoid harsh chemicals; they can dull both new and existing slats. If a window stays open often during Santa Ana season, expect more dust and set aside a few extra minutes—your blinds will thank you with years of graceful service.
There is also the pleasure of small improvements. The first time you tilt the refreshed blind and the sunlight falls evenly again, you will feel the room breathe. Replacement slats restore not just appearance but control, letting you shape light precisely. And if the project sparks the idea to extend the same care to other windows, we can help map a plan that respects how you use each room, from a busy kitchen bay to a quiet bedroom corner.
For homeowners considering a broader update, take a fresh look at wood blinds as a whole-home solution. The same attention to slat quality and finish that makes replacement satisfying is what makes new blinds a joy to live with day after day.
Frequently Asked Questions
Can I replace just one damaged slat?
Yes. If the damage is isolated and the rest of the blind is in good shape, a single replacement is often all you need. Careful measurement and a close finish match will make the repair virtually invisible.
How do I know my slat width?
Measure the face of the slat from top to bottom. Most are 2 inches or 2.5 inches, but it is worth confirming. Also note routing style and hole placement if your slats are traditionally routed.
What if my blind has yellowed or faded?
Sun can shift color over time. In that case, replacing a small cluster of slats around the damaged area blends better than a single swap. Viewing samples in the actual light at different times of day helps you land on the closest match.
Can I switch to no-route slats during replacement?
Often, yes. It depends on your headrail and ladder system. Many blinds can be upgraded with a compatible no-route configuration for improved privacy. A quick inspection will confirm fit and feasibility.
Is this a DIY project or should I call a pro?
Handy homeowners can replace slats with patience and basic tools. If your blinds are large, high, or have complex routing, professional help ensures a clean, level result and protects surrounding finishes.
Will new slats look different from older ones in the same blind?
They can, especially if the existing slats have seen years of sun. Strategic placement and replacing a small group rather than one can make everything read consistently again.
When you are ready to restore the crisp, tailored look of your windows, we are here to help measure, match, and install with the kind of care that makes a repair feel like a renewal. If a larger update is on your mind, explore the texture, finishes, and control offered by today’s wood blinds and imagine how refreshed your rooms can feel.

