
Aluminum Blinds Benefits for Simi Valley California Homes
November 21, 2025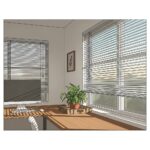
Environmental Impact of Aluminum Blinds in Simi Valley California
November 21, 2025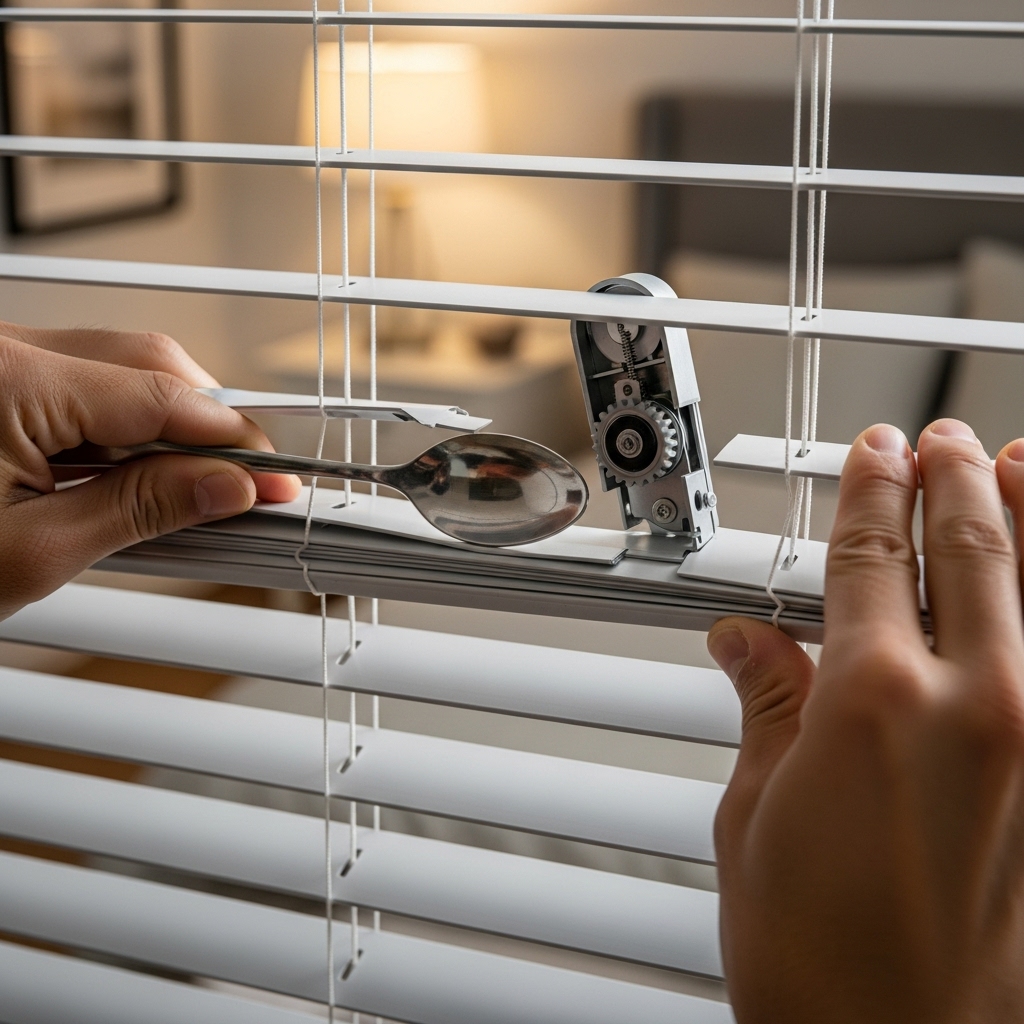
Real-World Aluminum Blinds Problems in Simi Valley—and How to Solve Them
Aluminum blinds thrive in Simi Valley’s bright, dry climate, but everyday life can still introduce a handful of predictable hiccups. Slats may pick up a small bend after a curious pet noses the window. Lift cords can slip slightly out of sync after months of daily use. A tilt wand might feel stiff following a week of dusty breezes with the windows open. The good news is that most issues are easy to diagnose and even easier to fix when you understand how the parts work together. With a calm approach and a few practical techniques, you can restore smooth operation and a crisp, orderly look without a full replacement.
If you are evaluating whether your blinds need a simple tweak or a deeper repair, it helps to start with the big picture: our local conditions. Simi Valley sees intense sunlight, occasional Santa Ana winds, and the kind of day-to-night temperature shifts that can make materials expand and contract slightly. Aluminum slats handle those swings well, but dust and vibration can nudge mechanisms off their ideal alignment. Before diving into the fixes, it can be helpful to refresh your understanding of modern product styles—this summary on keyword frames the components and options you might be working with and provides a reference point as you troubleshoot.
Bent or Creased Slats
Perhaps the most common sight is a single slat with a small bend. Aluminum is resilient within limits; with the right touch, you can often reduce a minor crease to the point where it disappears into the clean rhythm of the stack. Lay the slat flat on a firm, smooth surface with the bend facing upward. Using the rounded back of a spoon or a similar tool, gently press and sweep across the crease, working from the edges toward the center. The goal is to blend, not flatten in one push. Rehang or close the blind and step back. In most cases, the eye stops noticing the blemish once the line reads straight again.
For deeper damage, replacing the individual slat is the cleanest route. Many aluminum blinds allow slat replacement by opening the bottom rail, sliding the old slat out, and weaving in a new one along the ladder strings. Take photos as you go so you can retrace your steps. The key is patience and keeping the ladder tape sequence intact to maintain even spacing and consistent tilt behavior.
Uneven Lift or Crooked Bottom Rail
When one side of the blind sits higher than the other, the cords have likely wound unevenly in the headrail. Start with a reset: lower the blind fully, then raise it to the top in one smooth motion, guiding the bottom rail with your free hand so the lift is even. If the rail still reads crooked, bring it down to just above the sill and use a soft tap along the top of the slats to help the cords settle in their drums. Repeating this sequence two or three times usually restores a level finish.
If the issue persists, inspect the cord path. Look for a twist, knot, or trapped strand where the cord enters the headrail. Gently straighten anything that looks crossed. Confirm that the brackets hold the headrail square and tight; a slightly skewed rail can make cords favor one side. Tighten bracket screws if needed, aiming for firm but not over-tight, and retest the lift.
Sticky or Stiff Tilt Mechanism
A tilt that feels stiff or jumpy is often reacting to dust or a misaligned slat. Begin by cleaning. Close the slats, wipe with a microfiber cloth, then reverse and wipe again. Slightly open the slats and vacuum with a soft brush attachment to lift debris around the ladders. Next, open the headrail cover if your model allows and give a short puff of air to clear the tilt gears. Avoid excessive force; you are dislodging dust, not powering through it. Try the wand again. If resistance remains, check for a slat that sits off-sequence—a single slat caught under its neighbor can create dramatic friction. Straighten it and test.
For persistent stiffness after cleaning and alignment, a tiny application of dry silicone on the tilt rod can help. Apply sparingly with a cotton swab, keeping lubricant off ladder strings and fabrics. Turn the wand slowly to distribute and reassess. Smooth action should return without any squeaks or jumps.
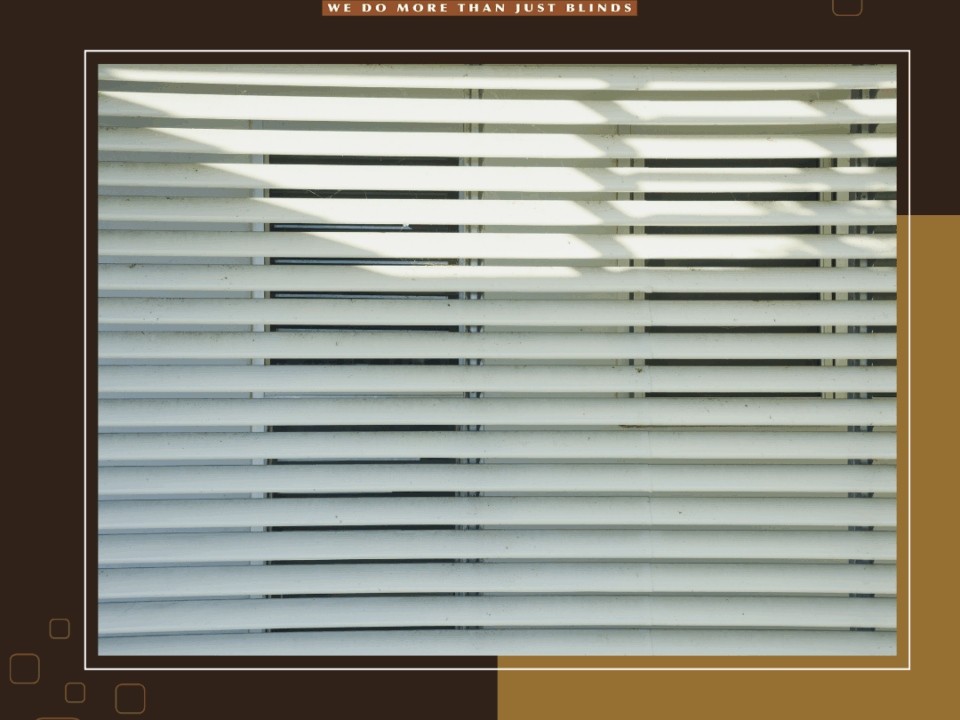
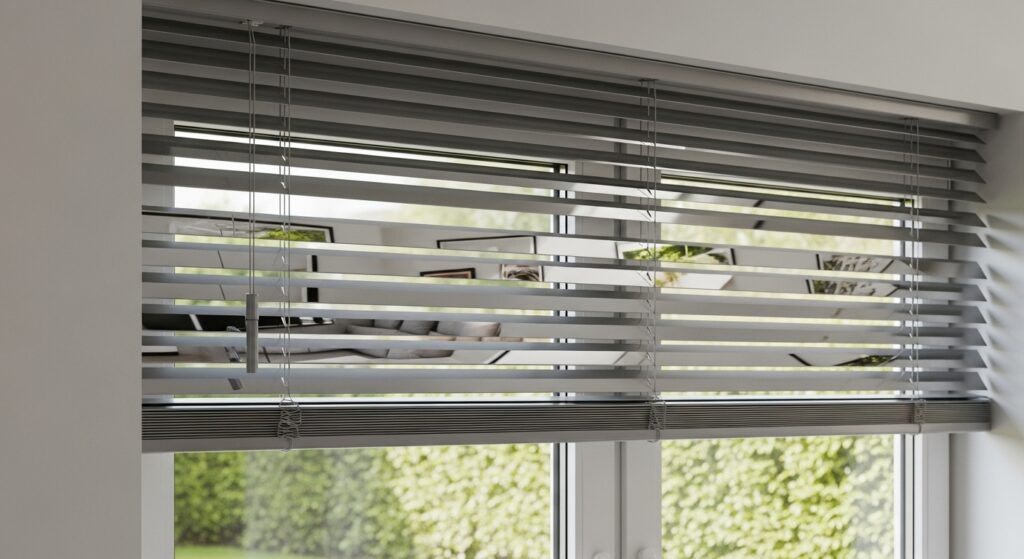
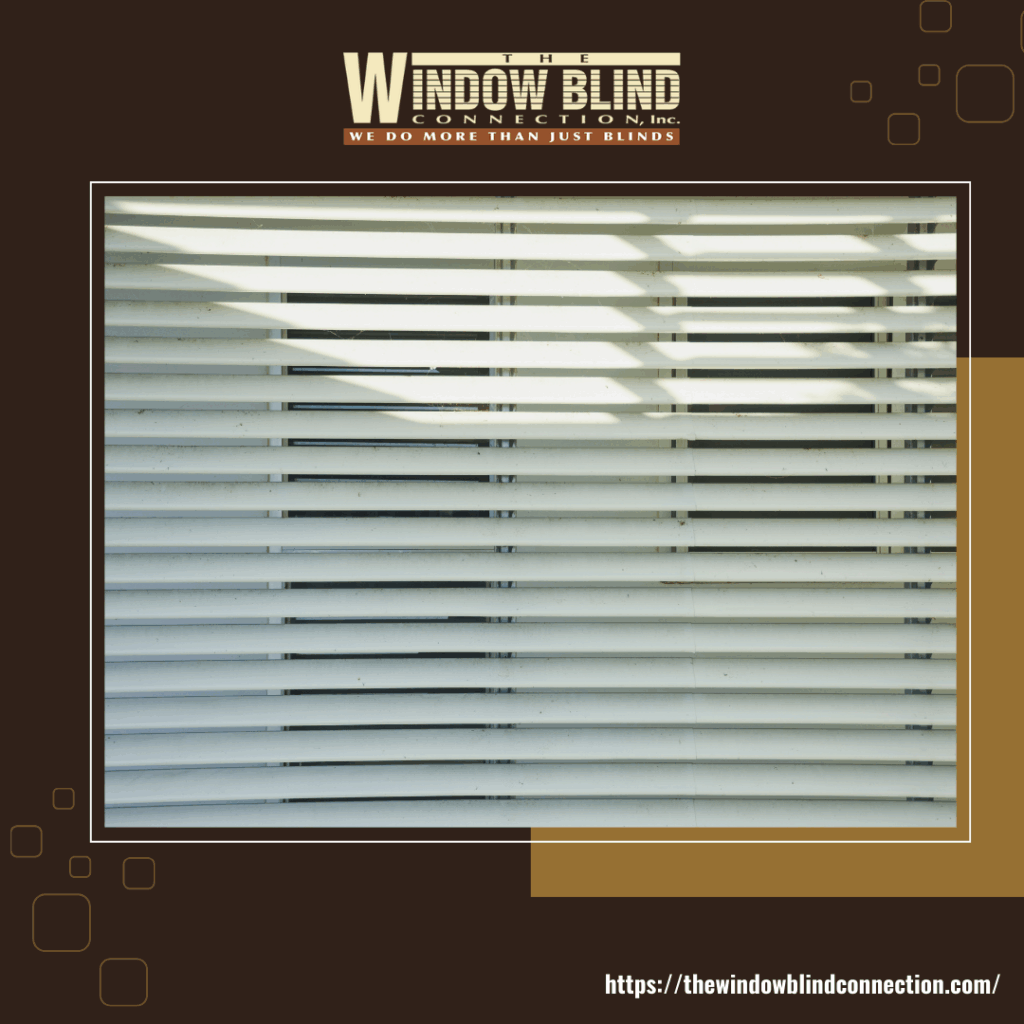
Light Leaks and Gaps
All blinds have small perimeter gaps, but if you are seeing more light than you expect or pronounced stripes on the wall, the issue may be measurement, mounting, or slat alignment. Inside-mounted blinds rely on a square window opening and adequate depth. If your frame is slightly out of square—common in older homes—small light wedges can appear. While the blind itself might be perfectly fine, you can reduce the effect by ensuring the headrail is level and centered and by angling slats to reflect light upward rather than straight into the room.
Outside mounts help when frames are irregular or when you want tighter control of light. Mounting slightly above and beyond the opening creates a cleaner silhouette and more coverage. Within a given blind, make sure the bottom rail meets the sill evenly; a twisted rail encourages uneven overlap among slats, which produces visible stripes of light. A quick reset of the lift cords often resolves the issue.
Frayed or Worn Ladder Strings
Ladder strings endure constant movement, especially in high-traffic rooms. Early signs of wear include fuzz along the edges or a slight thinning where slats rest most often. The immediate fix is gentle handling—avoid sudden raises and support the bottom rail during lifts. For long-term reliability, consider redistributing the position where the blind rests during the day so the same slats do not always carry the load. If wear becomes noticeable, replacing ladders is possible on many models, though it can be meticulous work. Photograph each step, work on a clean surface, and take your time weaving the new ladder through the slats to maintain spacing.
Cord Lock Slips or Fails
If the blind will not stay raised or slowly descends, the cord lock may be dirty or worn. First, clean. Lower and raise the blind several times to let the cords re-seat, then examine the lock channel. Dust can keep the lock from biting cleanly. A careful pass with compressed air removes debris. Inspect the cord for flattening or glazing; a worn cord is harder to lock. Replacing cords is straightforward, provided you match the diameter and weave pattern of the original so it mates properly with the lock’s teeth.
Mounting angles matter here as well. If the headrail tilts forward slightly, the lock can release under load. Confirm brackets are tight and square, and that the headrail is fully seated. These little corrections often deliver a big improvement in how confidently the blind holds its position.
Rattling, Tapping, or Vibration
Open windows, HVAC cycles, and busy households can introduce movement that makes blinds chatter. Hold-down brackets at the bottom rail tame motion on doors, while a properly snug inside mount minimizes side-to-side play in window openings. If a particular window catches breezes, set the slats at a shallow angle rather than perfectly flat; this reduces the surface that wind can push against, quieting the blind while still filtering light.
Another source of sound is loose hardware. During seasonal cleaning, check bracket screws and valance clips. A quarter turn can silence a mysterious tap and restore a sense of calm to the room. If sound persists, listen for a single slat that sits proud of its neighbors; bringing it back into plane often resolves the issue.
Discoloration or Finish Wear
Quality aluminum finishes are UV-resistant, but life happens. In rooms with heavy use—children’s spaces, kitchens, or garage entries—oils from hands can dull a surface over time. Start with gentle cleaning using mild soap and water, then buff dry to restore sheen. Avoid abrasive pads; they can permanently haze the finish. If you have several older slats that no longer match the rest, selective replacement may be your best bet. New slats blend well when matched carefully, and the overall look returns to crisp and unified.
When to Repair and When to Replace
Repairs make sense when issues are isolated—a bent slat, a stubborn tilt, a single frayed ladder. Replacement is the smarter move when multiple systems fail at once or when the base hardware belongs to a much older generation that lacks safety or performance improvements. Evaluating where you are on that spectrum is easier when you understand modern offerings and how they operate. This overview of keyword can help you weigh whether a targeted fix or a clean-slate upgrade will give you the best long-term result.
Pro Tips for Avoiding Repeat Problems
Most recurring issues trace back to two habits: rough handling and neglecting light cleaning. Guiding the bottom rail with one hand during lift, keeping the tilt gentle and deliberate, and dusting regularly will prevent the majority of headaches. When a problem does crop up, address it early. A slat slightly out of plane, a cord that begins to flatten, or a bracket that feels loose are all small now and simple to correct—waiting lets them cascade into something larger.
Frequently Asked Questions
Q: What is the quickest fix for a crooked bottom rail? A: Lower the blind fully, then raise it in a single smooth motion while supporting the bottom rail. Repeat once or twice to re-seat cords evenly. If needed, nudge the headrail to confirm it is fully seated and brackets are square.
Q: How do I stop a tilt wand from sticking? A: Clean first, then confirm slats are not crossed. If needed, apply a tiny amount of dry silicone to the tilt rod, avoiding ladder strings. Turn the wand slowly to distribute.
Q: Can I replace individual slats? A: Yes on many models. Open the bottom rail, slide out the damaged slat, and weave in a new one, keeping the ladder sequence intact. Photograph steps so you can reassemble confidently.
Q: Why do my blinds rattle when the window is open? A: Movement from air or vibration is the likely cause. Install hold-downs on doors, keep mounts snug, and set slats at a slight angle to reduce surface area facing the breeze.
Q: Are light gaps normal? A: Small gaps are inherent to blinds, especially on the sides. Mounting choices and careful leveling reduce them. For tighter control, consider outside mounts or pair the blinds with drapery.
Q: When should I replace rather than repair? A: Consider replacement when multiple components are failing or when the system lacks current safety features. If you are continually chasing new issues, a fresh, modern setup often saves time and frustration.
Ready to Restore Smooth, Quiet Performance?
If your aluminum blinds are not behaving the way they used to, a calm, methodical approach will usually bring them back to form. For clarity on what is available today and how upgrades can solve persistent issues, start with this concise guide to keyword, then decide whether a quick fix or a fresh installation will best serve your Simi Valley home.